A Place of Preparation – The Kitchen

Stand in the center of your kitchen. Close your eyes and take five deep breaths. As you open your eyes, take stock of your kitchen space.

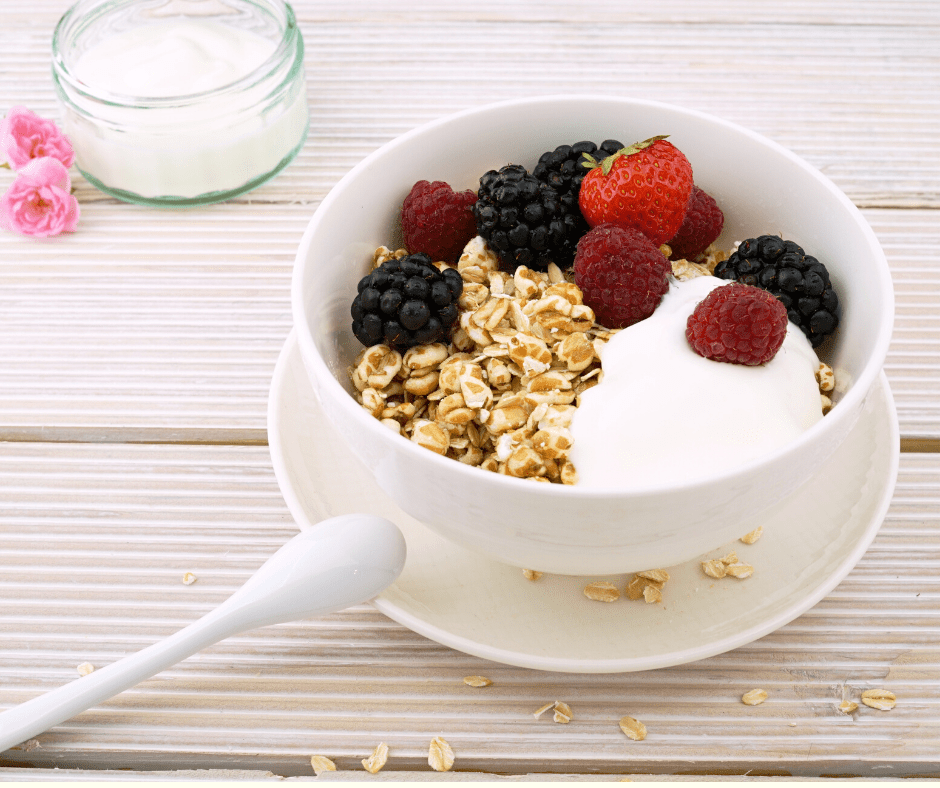
Our kitchens are centers of our homes. This is where we come to prepare the food which will nourish our bodies. It is also where we store our food as it awaits preparation. We store quite a bit in our kitchens when you open your cabinets and really look. There’s food, yes. But there’s also pots and pans, mixers and cutting tools, utensils of wide variety, hot pads and storage containers. Then there’s the appliances. Would you be able to name all the appliances in your kitchen, blindfolded?

I love my kitchen. I am a person who loves to cook and bake. The act of feeding my family is one of the biggest ways I show my love for them in a concrete way. I enjoy the way my children’s eyes sparkle when they walk into a fresh tray of muffins or brownies. I love when they run to tell their siblings what’s for dinner because they are so excited they can’t help but share the good news. I love their curious faces as the peek around the corner and ask, “What’s that I smell?”

Before I can cook any of these delicious treats or hearty meals, a solid grocery store run has to happen. I am also a list person. I absolutely have to have a grocery list running at all times or I would never get everything (and let’s face it, as a mom of 6 kids, as I walk in the door from the store I’m writing something down for the next trip). I am vigilant to keep certain things stocked so that I’m ready to shift dinner when plans change or to make an extra batch of cookies for a friend.

What is the “kitchen” of a spiritual life you may ask? If the kitchen is where store and prepare food, then I envision the kitchen of my spiritual home to be where I keep my daily spiritual tools. These are things like daily prayer, monthly confession, the reflections on the Hallow app (more on that at the end of this post), spiritual reading, etc. These are the habits and practices that keep me on the path God is laying out for me. Just as we all have morning and evening routines as we wake up and go to sleep, there are spiritual routines we can choose to maintain. They are part of our daily sustenance for our daily work.

As we look at our physical kitchens this week, here’s a list of ideas for ways to give your kitchen extra time and attention, to make it a place you want to spend time and energy creating nutritious and delicious food. Let me know in the comments what areas of your kitchen you spent extra time on. I’m thinking my refrigerator and freezer will be much brighter and more organized by the end of the week.

  • Wipe down cabinet interiors and exteriors
  • Clean baseboards, especially those under the cabinets
  • Sweep and mop in the same day
  • Empty refrigerator drawers and clean interiors
  • Empty freezer, clean where needed and check expiration dates before organizing
  • Check pantry for expiration dates
  • Add 5 items to your grocery list to donate to a food pantry
  • Assess your appliances – how often do you use each one, is it still a necessary part of your kitchen
  • Completely clean off countertops, clean and organize. Put away anything that does not belong
  • Clean any windows and doors
  • Clean oven door interior
  • Clean oven overall
  • Run a cleaning cycle on your dishwasher
  • Clean coffee maker/tea kettle

As we look more closely at our spiritual kitchen, take some time to write down what you keep stored there. Do you have a rosary you haven’t used in a while? Did you ever finish that spiritual book you were gifted at Christmas or your birthday? Have you signed up for an Adoration slot like Father has been requesting at Mass for weeks now?

What practices are you keeping up with? Do you read Scripture daily, say an Our Father before bed, pray a rosary on the way to work? It is important to recognize the things you are already doing. During this week, pay attention to how you feel about your established practices. Are you content, settled? Do you think you could do more, want to try something new? Lent is an excellent time to dust off old practices or let new ones inspire us to deeper prayer. Just like we go into our kitchen every day to prepare food for our daily living, we ought to be spending time in prayer, feeding our soul with connection to God’s presence in our life.

If you are looking for something new to add to your spiritual kitchen, I cannot speak highly enough of the Hallow app. I use this app for a variety of reflections, including a daily Gospel reflection by Jeff Cavins. I also listen to both Fr. Mike Schmidt and Bishop Barron’s Sunday homilies there. If you are familiar with the Litany of Trust, it’s there. The Bible in a Year? There. The Rosary? Yep. A gorgeous chanted Rosary in 5 languages? Yes. Kids’ specific content? Brand new and so well done. And so much more! There is a free version and a premium version (premium is $60 a year). I am part of a community called Hallow Heralds, people who love this app and wish to share it with as many people as possible. If you are interested in trying it out, the following link will gift you 3 months of premium access completely free. I do not receive a kick back or anything, it’s a gift from the Hallow community to you. I would love to hear if you know about Hallow, if it’s something you find a helpful tool in your spiritual kitchen.

Next week, we will spend our time in our Dining Room/Main Eating Area.

May God bless you

Daily Graces. kktaliaferro.wordpress.com

New Little Friends – Quarantine Kitchen

Happy St. Joseph’s Day! As COVID-19 continues to be our new best-not-best friend, I thought it might be good to talk about some other little friends that can live in your home who are much more fun to have around. I’m talking about wild yeast and yogurt cultures!

I’m not sure if I’ve ever mentioned it, but I make our sandwich bread and when I have time, french bread, biscuits, etc. also. I have a wild yeast starter which is almost a year old. Yeast is a little like a pet. It needs food, water, time and attention. Some people even name theirs! Thanks to COVID-19, we all now have ample time and attention for a simple side project like bread making.

This is a fantastic project for elementary aged kids. All you need is flour, water, and time. Yeast is alive and able to be collected right in your own kitchen. Here’s the basic steps as an overview, but check the link for the exact measurements if you think this is something you’re family wants to try out.

**Some notes on the linked recipe: If you do not have pumpernickel flour (who does?) or (whole wheat flour, some of us maybe, but probably not all) you can totally start with all purpose flour. You also do not have to keep such a large quantity of starter around if you do not want to. I keep at most 1/2 cup at any given time. When I know I’m going to make bread soon, I take about half of what I have and “beef it up” over the course of a few days to increase it to the quantity required for the recipe, typically 1 full cup. The other half I feed and reserve in the refrigerator (this way I don’t have to repeat the unfortunate experience of killing my starter by flooding it with hot water. If I mess up what I have on the counter, I can always go back to the refrigerator for more) =)

  • Day 1: In the morning combine flour and water in a clear plastic or glass container. I tend to use mason jars. Place mixture on the counter, preferably near some fruit but not necessary, and lightly cover with an unscrewed lid or clean dishcloth.
  • Day 2: Discard about 1/3 of the mixture and feed with flour and water. Re-cover. In the evening before bed, discard again and feed. Begin looking for bubbles within the mixture, but do not be disappointed if there aren’t any yet. If there aren’t any bubbles, you can skip the evening feeding if you wish.
  • Day 3: Repeat Day 2, looking throughout the day for any bubble action. Definitely feed in the evening. Bubbles = yeast presence
  • Day 4: Repeat Day 3. There should be bubbles by now, but give it one more day if there aren’t.
  • Day 5: It’s officially a starter! If you are seeing ample bubbling and are able to measure growth, you’re starter is ready for bread making.

Basic Sourdough Bread Making: All you need is flour, water, starter, a little salt, and time. Check out these simple loaves for your new bakers to try. Don’t be intimidated by the recipe. It is long, but the steps are simple and there’s some good science going on here. Plus, if you’re feeling a bit overwhelmed, wild yeast only does good things with a long, slow prove. You can totally leave this dough in the refrigerator overnight and come back to it in the morning, thus extending your science experiment and extending the life of the activity.

If you want to make sandwich bread, this is the recipe I use. An important note about this recipe: it requires a starter that has a 75% hydration. This means that instead of adding equal amounts of flour and water, the starter has 25% less water when fed. You can easily make this happen by splitting your starter into two jars – keep one at the 1:1 flour to water ratio, and the other adjust to a 1:.75 ratio. So, when I beef up a starter for bread, I feed it 3/4 cups of flour and 1/2 cup plus 2 T of water to make the whole cup of starter required for this recipe.

This bread is soft, so easy to slice and the recipe makes 2 loaves! I put one in the freezer until we are ready for it.

Moving on to yogurt! This one is newer for our family, we’ve only been making our own yogurt for about 4-6 months. While you can’t collect yogurt culture like you can wild yeast (at least, I haven’t tried to), after you have your first batch made you never have to buy yogurt again! Yogurt is created when bacteria ferments milk. The bacteria cause the lactose in milk to break down into lactic acid which gives the yogurt its characteristic texture and sour flavor. You can check out more here for your budding kitchen scientists.

The only special equipment you need for yogurt is a thermometer and a place to keep all the milk warm while the fermentation is happening. You also need one small carton of good quality yogurt. Check to make sure it has multiple kinds of cultures or bacteria so that you can give your yogurt a great start in life. After your first batch, always remember to reserve about 2 T to use as your starter culture for the next one. And time, of course, which we now have in abundance.

This recipe is exactly how I make our yogurt, minus one thing (incubation time. I’ll get to that), but you can also attempt it in a crock pot or instant pot with some simple googling. For the incubating, I store the milk in a large glass container, wrap it in a dish towel and then place it in one of our insulated lunch boxes. I happen to have a shelf above our water heater which also happens to be in the kitchen so I pop it up there and leave it, usually for a good 12-18 hours. I know this is longer than the recipe states, but I almost always prepare the yogurt in the afternoon and then don’t strain it until the following morning. Turns out fine every time. My kids like to eat it with honey and granola. We will also stir in jelly for a fruit-filled taste.

As I said in my last post, we have been asked to make some significant sacrifices. But just as necessity is the mother of invention, sacrifice provides the nourishment for growth. Or in this case, some deliciousness served with a side of science, togetherness, patience and purpose.

I can’t wait to hear what other kitchen creations you’re whipping up! If you need more ideas, here are a few other DIY recipes I use regularly.


Homemade Bisquick – This does make a lot. I halve the recipe if I know I don’t have room in the refrigerator or won’t be using it super often in the next few weeks.

Cheddar Biscuits – Using the homemade bisquick. If you don’t have buttermilk around, you can use the leftover whey from straining your brand new yogurt! Or if you didn’t strain the yogurt, or haven’t gotten around to it yet, you can pour 1 T less of milk and then add 1 T of white vinegar. Stir and let it sit for 5-7 minutes and viola! Buttermilk. Also, I usually skip the garlic butter on top because it’s kind of an excessive amount of butter, but every so often we indulge. It’s sooooo good.

Homemade Pie Crust – delicious for quiche, pie (of course!) or blind bake it and the fill it with pudding and fruit of your choice. The only thing about this recipe is that it will make 2 pie crusts. Which is great because if you’re doing an open faced pie you can freeze the other one! You can also use a pastry cutter or forks if you don’t have a food processor big enough to handle this amount of flour.

Homemade french bread – this one is great and bonus, you can tackle arm day without leaving your kitchen! See here for how to knead bread well.

Chicken Noodle Soup from Scratch – my Grandma’s recipe. Can’t be beat and cheap because it uses a whole chicken vs chicken pieces. Pair with the above french bread. You can also do this in the crock pot, 8 hours on low is ideal. The chicken should fall straight off the bone.

Daily Graces. kktaliaferro.wordpress.com